
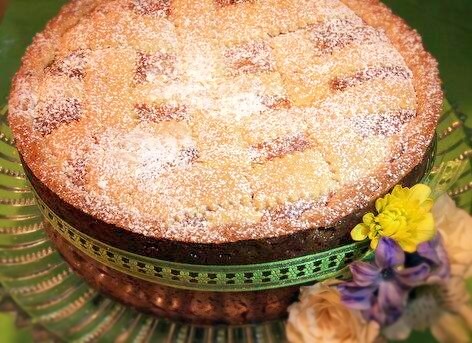
Easter pashka
Are you looking for new Easter dessert ideas? Holidays are a time for traditions and traditional foods. However, it’s always nice to see something delicious and new on a holiday table. So, here’s something new! Have you ever heard of Pashka?
The Origins: What Is Pashka?
Pashka (often called Pascha, Pasha, or Paska) is an Eastern European Easter dessert popular in Christian Orthodox communities. Easter Paska is also a traditional dish for many Greeks, and even Finns. However, the origin and original recipe come from Russia. Pashka is a cheesecake-like dessert (minus the crust) with a sweet custardy texture.
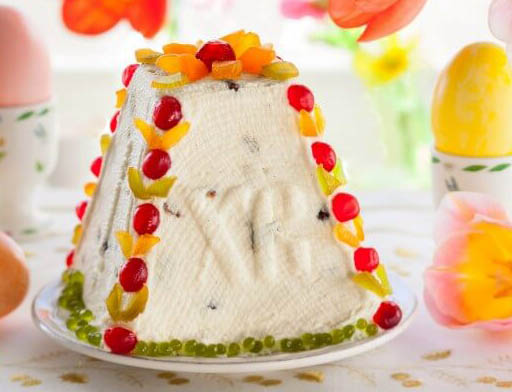
Most often you’ll see it garnished with candied orange or lemon zest along with nuts to enhance its festive nature. This dessert is a symbolic representation of the tomb of Jesus Christ. Traditional recipes require that Pashka be formed in the shape of a pyramid with an XB engraving (Celtic for ‘Christ has risen). If you can’t find a wooden mold, you may use a regular pudding bowl instead. Then use the candied zest and nuts to create the symbolic XB letters.
These letters originate from Russian and stand for “Христос Воскрес” (Christos voskres) — “Christ is risen.”
How to Make This Eastern European Dessert?
You will also appreciate the no-bake process that makes this recipe easy and hassle-free. Please, remember to make it a day before to give it sufficient time to set. Pashka can also be used as a quick educational lesson for the young ones after they have settled down from their fun egg hunt. Easter is a very welcomed time of the year. It’s a time of rebirth in nature and a time for rebirth in our Christian faith.
“People come together with their families to celebrate Easter. What better way to celebrate than to spend a few hours going on the journey of Christ’s life.” – Roma Downey
Traditional Pashka Recipe
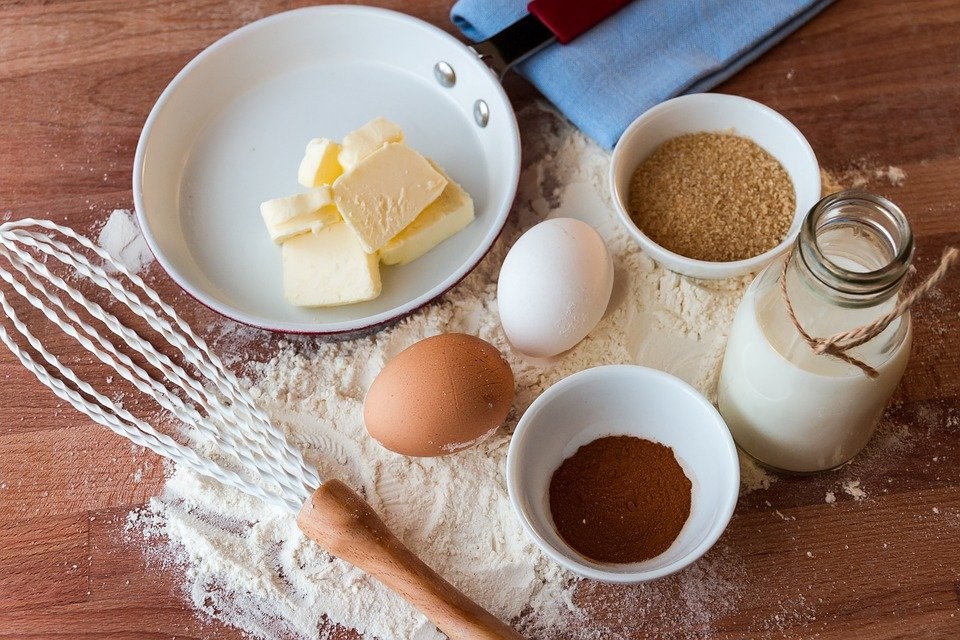
Ingredients
- 1 pound cottage cheese, (at room temperature)
- 1 pound, of Philadelphia Cream Cheese (at room temperature)
- 3 sticks, of unsalted butter (at room temperature)
- 1 cup, of heavy cream
- 6 egg yolks (at room temperature)
- 1 ½ cups, of sugar
- 1/4 tsp, grated fresh nutmeg, and cinnamon
- 1 freshly grated orange zest
- 1 tbsp, of pure vanilla extract
- 1/3 cup, of finely chopped candied citron
- 1 orange or lemon zested and candied (optional)
- An assorted mix of nuts and dried fruits, for garnish(optional)
Directions
- Gather your baking supplies and carefully measure out all the ingredients.
- Strain the cheese (if liquidy) through a mesh sieve or strainer placed over a bowl. You can also use a food mill as an alternative option.
- Set your strained cheese aside.
- Chop, slice, and grate fresh ingredients as instructed in the previous section.
Whisk Away!
- Carefully separate the egg yolks from the egg whites. Reserve whites for another use such as a meringue or egg white omelet.
- Add the yolks to your whisking bowl and add the sugar.
- Use a stand mixer or whisk by hand.
- With a stand mixer add the whisk attachment.
- Beat the egg yolks and sugar at high to medium-high speed. Whisk until you get a light, fluffy mixture. (Approx. 5 minutes)
Tip: Take your whisk and remove it from the mixture. As the batter drips off move your hand in a figure-eight pattern. If the ribbon of the batter does not disappear quickly but holds its shape you are done. If not whisk for a few more minutes to obtain a ribbon consistency.
- Add the cheese, butter, zest, and aromatic spices (slowly) while mixing the batter at medium speed.
- Whisk until thoroughly combined. This should not take long at all. One to two minutes should do it.
- Now slowly pour the heavy cream into the batter. Mix until you get a silky smooth batter.
- Add in the vanilla essence at the very end and let it mix through the batter and stop.
The Mold
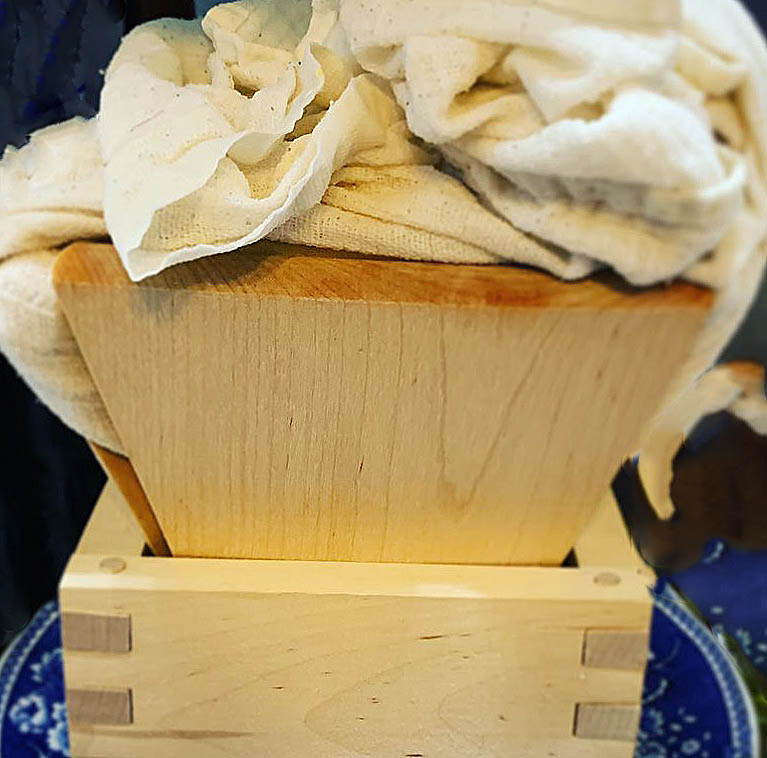
Traditional pashka mold
- Line the mold (preferably size 5 ½ inch by 7 inches) with a dampened cheesecloth.
- Pour in the cheese batter.
- Fold the cloth to cover the top and close it.
- Place a plate weighted down with 2-3 cans. (Approx. 2-3 pounds of weight)
- Set the filled mold in a pot or bowl large enough to hold the mold and the weighted dish on top.
- Refrigerate the dessert overnight to let the mixture sit and drain.
- The following day removes the weights and slowly pull back the cloth from the mold base.
- Cautiously invert the mold onto a serving platter.
- Carefully remove all cheesecloth.
- Garnish with candied citron, dried fruits, and nuts.
Presto! Your stunning Easter pashka dessert is ready to be served. Your family and friends are bound to ask for second helpings because this towering treat is just that good.
Tasty Tip!
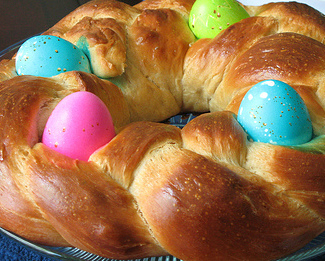
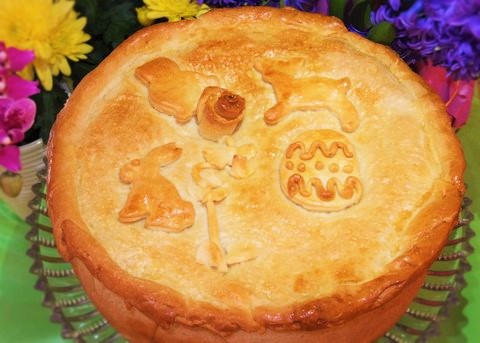
After you make the Pashka recipe try your hand at baking Italian Easter Bread or a delicious Grain Pie. If you are more in the mood for something savory, you can opt for a traditional Pizza Rustica another all-time favorite for Easter.
Happy Easter!
-
Italian Easter Bread -
Grain Pie -
Pizza Rustica